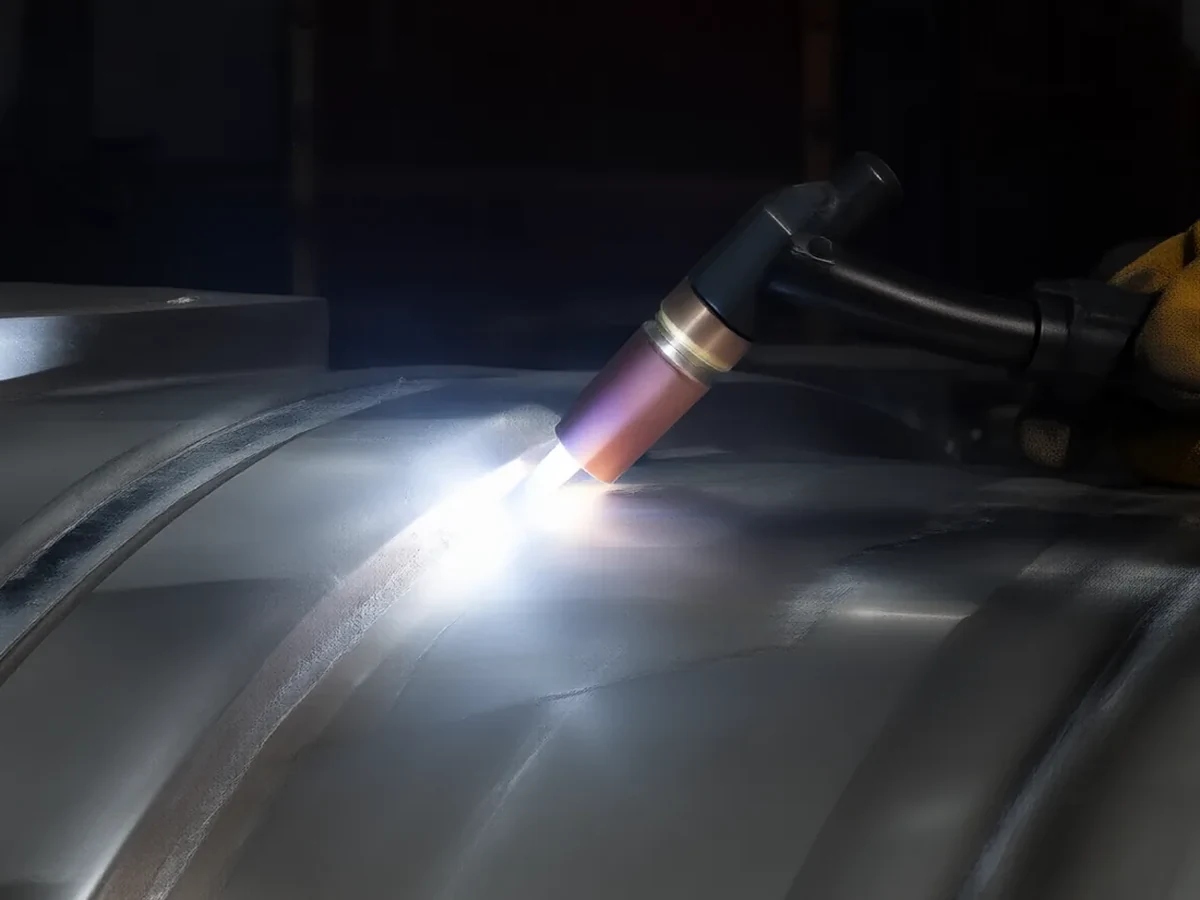
Vacuum chambers are usually welded structures in 3–6 mm 304/316L stainless steel: dense welds, uneven stiffness. Once heat input is unbalanced you get opening shrinkage, flange face warping and door-frame diagonal error — and no later machining will recover a distorted sealing face. These are the five practices we follow on build-to-print jobs.
1. Fix the weld sequence before tuning parameters
- Symmetric welding — weld in pairs about the geometric centre so shrinkage stresses cancel each other.
- Backstep technique — split long welds into 150–250 mm runs, welding from the middle outwards or stepping back, to avoid cumulative one-sided contraction.
- Inside out — weld internal supports and shields first, then walls and flanges, so inner welds do not pull finished faces out of shape.
- Flanges last — treat flanges as the sealing datum: tack and weld them after wall welding is complete and stress has been released.
2. Leave machining allowance
Wherever a sealing face, flange end or O-ring groove will be finish-machined after welding, leave 2–3 mm on the welded part and take the final cut only after welding and correction. Distortion is then absorbed by the allowance instead of remaining in the finished part.
3. Restrain distortion with fixtures
- Brace chamber openings with temporary supports (struts or a star brace) and remove them only after cooling to room temperature.
- Clamp flange faces against a rigid backing plate or locating fixture to keep the end face flat during welding.
- On thin walls, control tack spacing (about 100–150 mm) so tacking itself does not cause local shrinkage.
4. Post-weld correction: mechanical first, heat only with care
Stainless steel is sensitive to flame straightening: local high temperature causes sensitisation and heat tint, and can raise intergranular corrosion risk. We prefer mechanical correction (press, fixtures, pre-set counter-distortion). Where heat correction is unavoidable, we control temperature and cooling, then pickle and passivate to remove the tint.
5. Inspect after welding, before machining
- Cool to room temperature, measure opening dimensions, door-frame diagonals and flange face flatness.
- Correct out-of-tolerance parts and re-measure; only proceed to machining once stable.
- Re-measure sealing faces and hole positions after finish machining; ship both sets of records.